
The Nailed Method
The best way to make a book safe with perfectly straight sides is by using a scroll saw, but if you don't have access to one, this technique is the next best thing. The nailed method involved nailing the book to the board while you're cutting it by hand. You can use this method if:
• You're using a large hardcover
• You're using a paperback book
• You want straighter, smoother sides on the inside of the book safe cavity
• You don't want to cut the book's binding
I used the Nailed Method to make all my personal book safes before I got a scroll saw.
 The hardest part of the Hand-made Method is keeping the pages straight as you cut your way through the book. Flipping over the cut pages can pull the entire book at an angle.
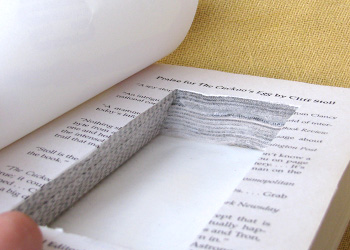 And if the pages aren't straight when you cut, the cavity isn't straight when you're done. You can see the results of a crooked cut to the left.
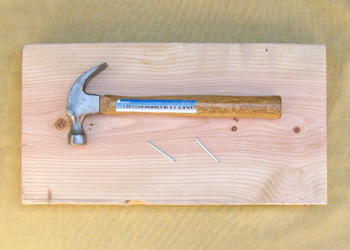 The Nailed Method keeps the pages in place, so you don't have to constantly work at keeping them straight.
You'll need the equipment from the Hand-made Method plus:
• A hammer
• A block of wood longer and wider than the book itself
• Finishing nails (meaning nails with small or non-existent heads) which are at least 1/4 inch longer than the width of the book. (2" nails are pictured.)
Here's how you do it:
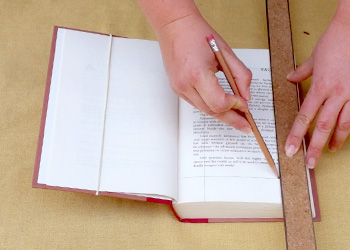 Go through Steps 1-5 normally.
Follow the Hand-made Method instructions right up until the point when you would start cutting.
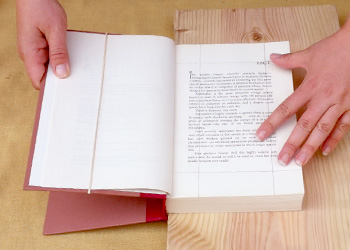 Fold back the covers and place the book on the board.
Position it so that the pages are fully on the board and the covers are just hanging off. Make sure the pages are as straight as possible.
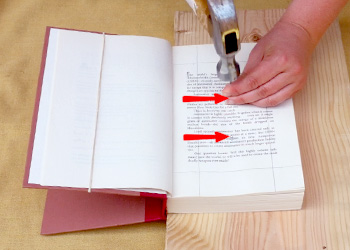 Hammer two nails into the center of the pages.
This will fasten the book to the board and keep the pages from moving.
Position both the nails in the middle of the page, at about 1/3 and 2/3 of the way down from the top guide line. See the image on the left for an example.
Leave the heads of the nails sticking up. If you hammer the nails all the way in,
the heads will warp the pages.
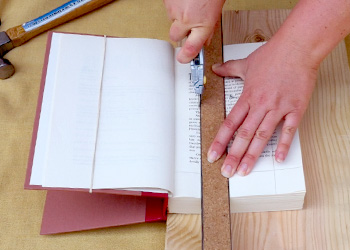 Cut into the pages.
Resume the Hand-made Method instructions with Step 6: Cutting the pages. Remember to cut beyond the corners, cut straight, cut deep, and cut repeatedly.
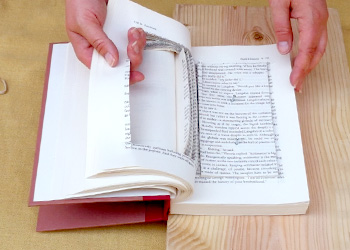 Flip over the cut pages and rubber-band them to the cover.
Follow Steps 7 and 8 as normal from the Hand-made Method. In keeping with those instructions, flip over all pages that are cut clean through to all 4 corners, and leave any pages that are only partially cut.
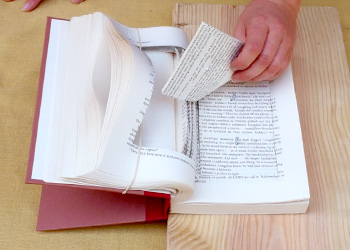 Pull up the waste paper in the center and discard it.
Now you can see why finishing nails are better for this project; regular flat-head nails would make it hard to remove the paper that's been cut out.
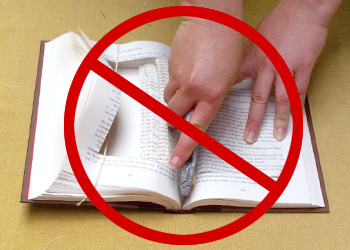 Do NOT cut the binding.
Ignore Step 9. You cut the binding in the Basic Instructions so that you could flip the cut pages out of the way without pulling the rest of the book at an angle. But since the rest of the pages are nailed straight, you don't need to do that.
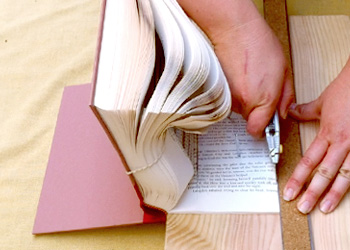 Continue to cut your way through the rest of book. Repeat Steps 6, 7, and 8. Cut all 4 sides, turn over the pages that are done, rubber-band them to the cover, and discard the cut paper in the middle. Do this all the way down to the wood.
 Lift the book off the wood and follow the Hand-made Method instructions to finish it.
With the last pages cut, the book is free of the nails. Resume following the Hand-made Method at Step 12.
