Making a Padded Fabric Interior
Giving your book safe a fabric interior takes a little bit of work, but it adds a big touch of class, AND it's a great way to cover up any imperfections in the cavity. The foam also provides protection for anything you put inside.
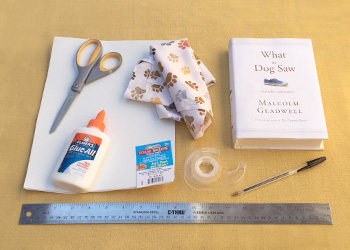 You Will Need
- Finished book safe
- Sheet of craft foam (standard 2mm thick) with an adhesive back
- Ruler
- Fabric
- Scissors
- Double-sided tape
- White glue
- Pen or sharp pencil
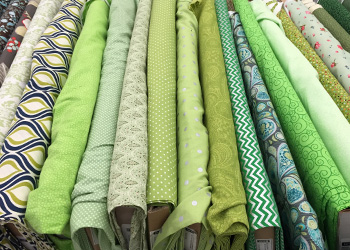 Getting Fabric
While you possibly can make an interior with some fancy kind of fabric, this tutorial only covers regular cotton or polyester material.
You don't need a lot of material, maybe a quarter yard or so. Check with your local fabric shop to make sure they sell partial yards. Fabric can be expensive, so you don't want to buy more than you need.
You can also check your shop's "remainder" section to find bundles of leftover material at discounted priced. Unfortunately, this fabric usually comes with deep creases or folds (from being tightly rolled up) that you'll have to iron out.
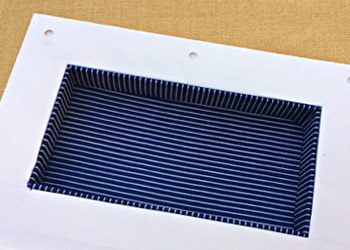 Be careful with geometric patterns! If you stick anything down crooked, you'll get something looking like the book to the left, where the straight lines ended up at a visible angle. It's best to stick with solid colors or "non-directional" patterns.
Stage 1: Making the Bottom Piece
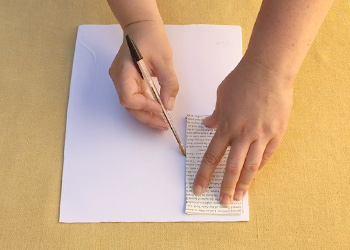 Step 1: Mark a piece of foam for the bottom.
If you have a pile of scrap paper left over from cutting the cavity of the book safe, you can use a sheet as a template. Lay the foam down, with the adhesive side facing up, and trace a piece from the cavity.
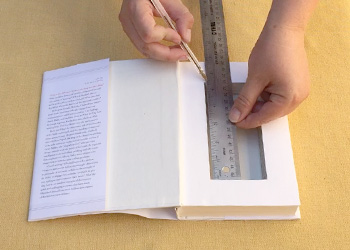 If you don't have leftover scrap paper from the book, measure the cavity with a ruler and draw a rectangle the same size.
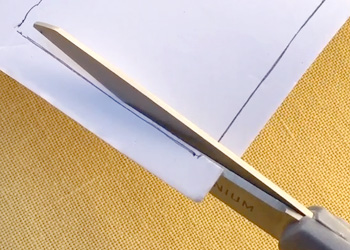 Step 2: Cut the bottom piece of foam.
Using the scissors, cut inside the line by about 1/16 of an inch. You want the bottom piece to be slightly smaller than the cavity in order to accommodate the fabric.
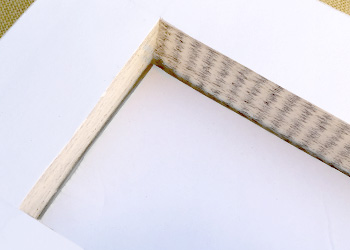 Step 3: Check the fit of the foam.
Put the foam rectangle into the cavity, adhesive side up, and make sure it fits flush on the bottom. You want the sides to be close to the walls (within 1/16 of an inch) but not actually touching them.
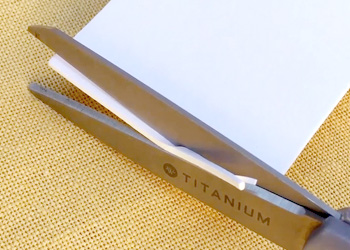 Step 4: Trim the foam if necessary.
If the foam touches the cavity wall on any side, trim it with the scissors until it's the right size.
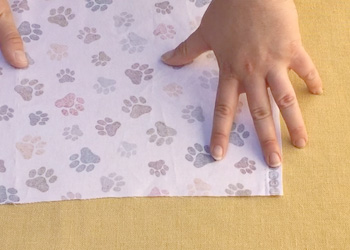 Step 5: Prepare your bottom fabric.
Lay the fabric, pattern side down, onto a flat surface. Smooth it out to ensure there's no wrinkles.
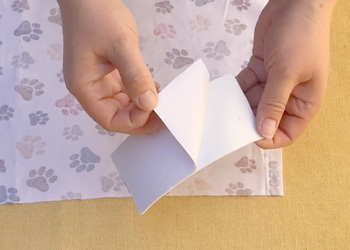 Step 6: Stick the foam onto the fabric.
Peel the paper off the adhesive side.
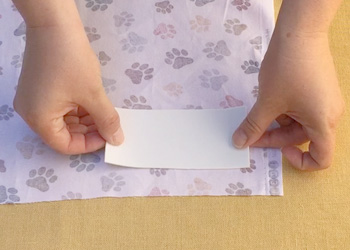 Then stick the foam down onto the fabric, at least one inch from the edge.
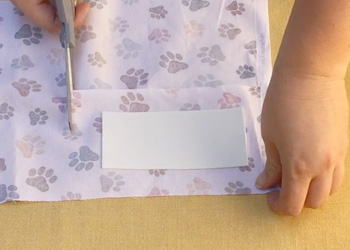 Step 7: Cut out the fabric around the foam.
Trim the fabric so that there's about an inch of fabric on all sides.
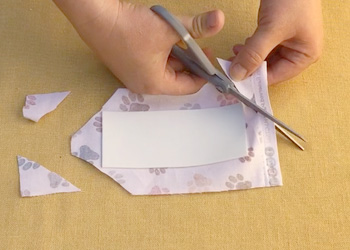 Step 8: Cut the corners off the fabric.
Cut at roughly a 45° angle.
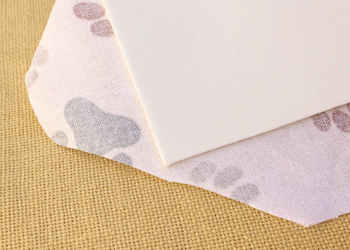 Leave 1/8 of an inch (or so) of fabric sticking out beyond the corners of the foam, so the corners will be covered when you fold the fabric over.
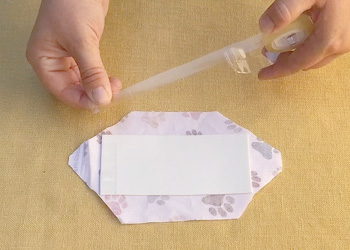 Step 9: Put double-sided tape around the edge of the foam.
Make sure the tape is right up against the sides, and goes all the way around the edge.
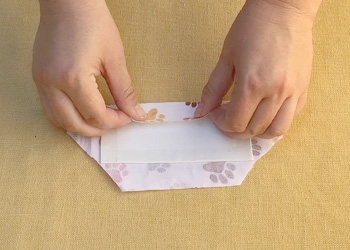 Step 10: Fold the fabric down onto the tape.
Pull a flap of fabric, fold it over the edge of the foam, and press it down onto the tape.
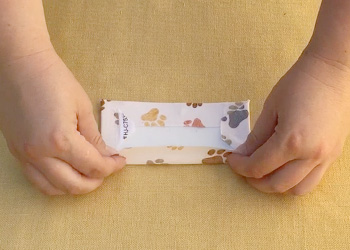 Repeat with all four sides.
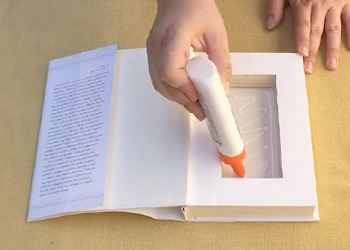 Step 11: Squeeze glue onto the bottom of the cavity.
Run a thin line of glue around the edge of the cavity, and then crisscross the middle area.
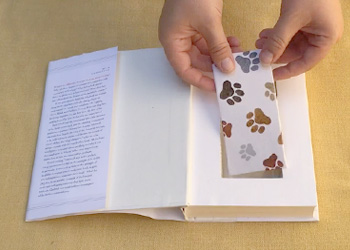 Step 12: Press the bottom piece into the book.
Insert the bottom piece of foam, tape side down.
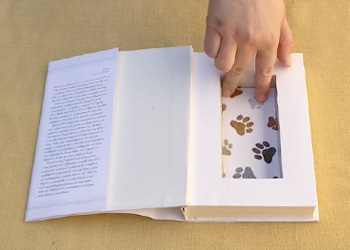 Press all around the edges to make sure it's glued down flat. You might have to do this more than once.
Note: You do not need to wait for this glue to dry before moving on to the next step.
Stage 2: Cutting the Wall Foam
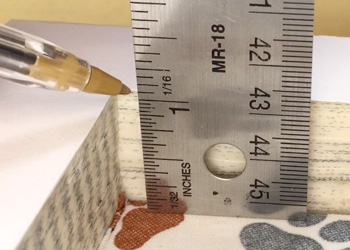 Step 13: Measure the depth of the cavity.
Put the end of the ruler into the cavity, letting the edge rest on the bottom fabric piece, to find out how tall the cavity walls are.
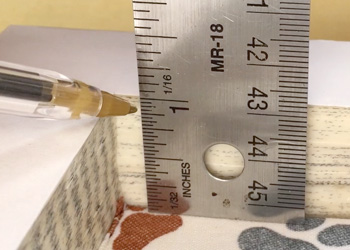 Step 14: Subtract about 1/16 of an inch.
This doesn't need to be 100% exact, but you want the wall foam to be slightly shorter than the cavity in order to accommodate the fabric.
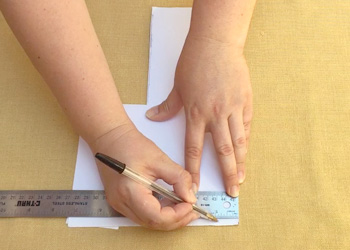 Step 15: Measure and mark a strip of foam for the walls.
Lay the foam sheet down, with the adhesive side facing up. Mark the width (the depth of the cavity minus 1/16 of an inch) at the edge, on both the top and bottom of the sheet.
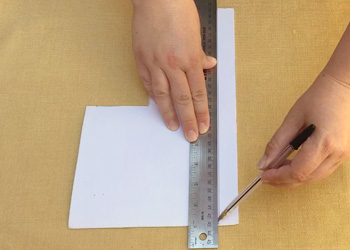 Then use the ruler to make a line.
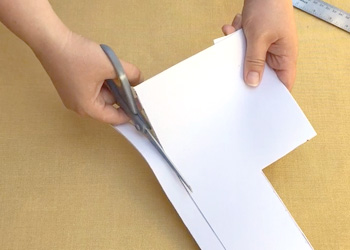 Step 16: Cut the strip of foam.
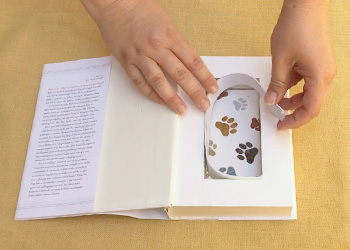 Step 17: Put the strip of foam into the cavity.
Put the end of the strip into one corner, with the adhesive side facing inwards, and run the strip around the sides.
Note: The strip won't reach all the way around (unless you have a very small book), but that's okay; you'll repeat this procedure until you have enough foam for all four walls.
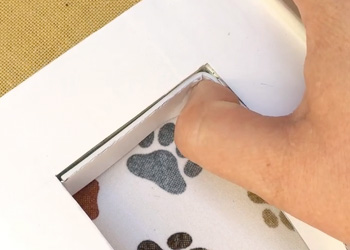 Push it tightly into the corners, starting with the corner near the end of the strip.
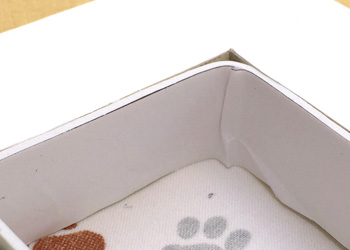 Note: If the strip is flush with the top of the cavity, like you can see at the left, take it out and trim it down by 1/16 of an inch before you go to the next step.
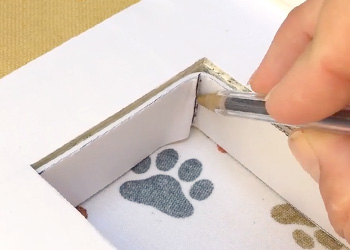 Step 18: Mark the corners.
Take your pen or pencil and run it up and down the foam in the corners.
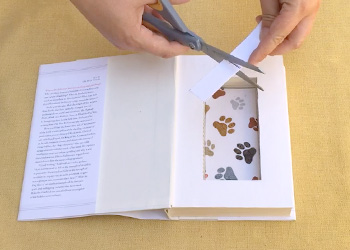 Step 19: Cut the wall pieces.
Take the foam strip out and cut it at the corner marks.
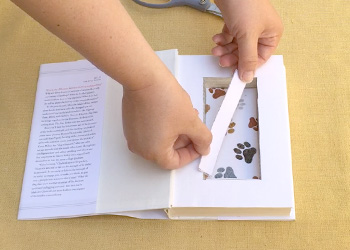 Step 20: Put the wall pieces back in and make sure they fit.
Put the foam pieces back into the cavity, with the adhesive facing inwards.
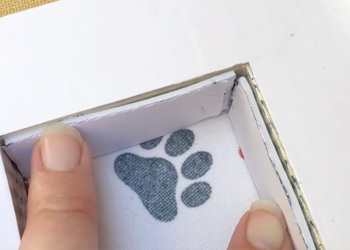 As with the bottom piece, you want the edges of every wall piece to be close to the corners of the cavity without actually touching them.
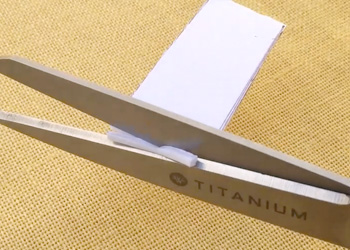 Step 21: If necessary, trim the wall pieces.
Use the scissors to cut slivers off any wall piece that's too long.
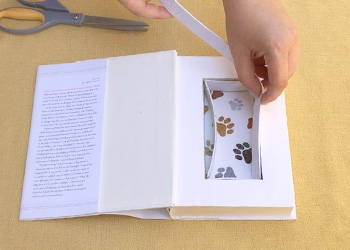 Step 22: Repeat with more foam until you have all the walls done.
Repeat Steps 15 through 21: Measure a strip of foam as wide as the cavity is deep (minus 1/16 of an inch or so), cut it out, place it in the cavity along any sides that don't have foam pieces, mark the corners, cut the lengths, check for fit, and trim them if they're too long.
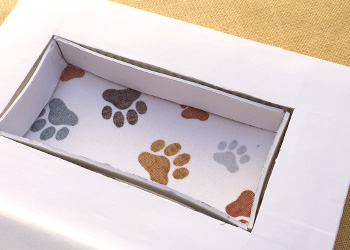 You now have foam for all four walls.
Stage 3: Put Fabric on the Wall Pieces
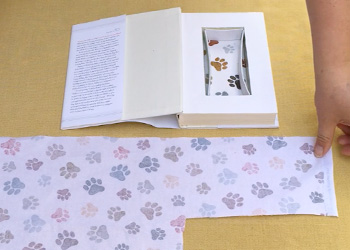 Step 23: Prepare your fabric.
You need a piece of fabric long enough to cover all the walls in a row. Lay the fabric, pattern side down, onto a flat surface. Smooth it out to ensure there aren't any wrinkles.
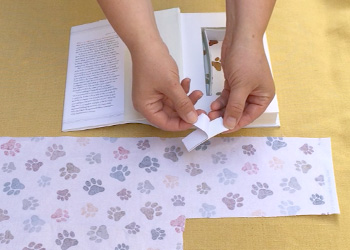 Step 24: Stick the first piece down.
Take one piece of foam out of the cavity, and peel the paper off the adhesive side.
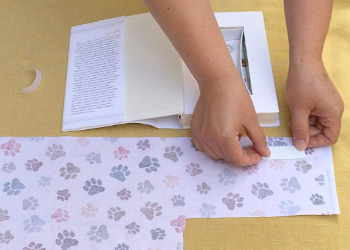 Stick it down near the end of the fabric, aligned with the edge, with at least half an inch of fabric on all sides.
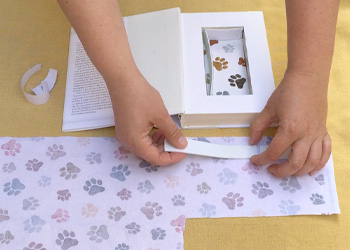 Step 25: Stick the remaining the wall pieces down.
Working either clockwise or counter-clockwise, take out one wall piece after another, peel the paper off, and and stick them down on the fabric end to end, 1/8 inch apart.
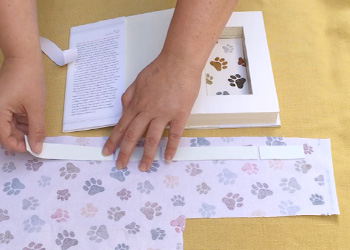 The final product should be all the wall foam lined up, long pieces interspersed with short pieces, with 1/8 inch gaps between each piece.
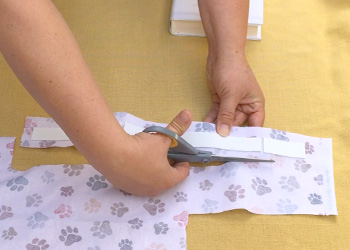 Step 26: Cut out the fabric around the foam.
Trim the fabric so you have about half an inch on all sides of the foam.
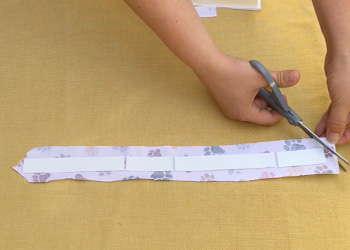 Step 27: Trim the corners.
Cut off the fabric corners at a 45° angle.
Just as with the bottom piece, you want about 1/8 of an inch of fabric at the corner so it can cover the edge when you fold the fabric over.
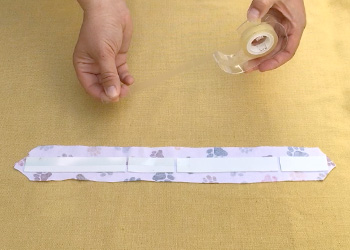 Step 28: Put tape down on the top edge.
Run double-sided tape down the entire length of the pieces, making sure it's flush against the top edge.
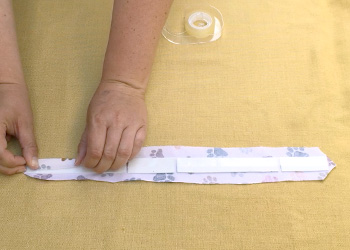 Step 29: Fold the fabric over the top side.
Starting at either the left or right, pull a few inches of fabric over the edge (don't pull too tightly or you'll distort the foam) and press it down onto the tape.
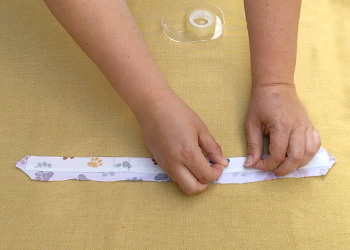 Move down the line of wall pieces, pulling the fabric over and pressing it down, until all the fabric is taped on that side.
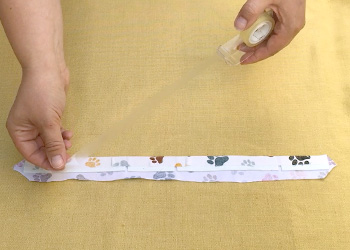 Step 30: Put tape along the bottom edge.
Now repeat with the other edge. Run tape down the entire length of the wall pieces, positioning it flush against the bottom edge.
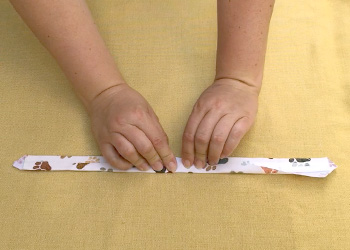 Step 31: Fold the fabric over the bottom side.
Just like you did for the top side. Start on one end, pull a bit of fabric over the edge, and press it down.
Work your way down the length of the wall pieces, adjusting the fabric as you go if anything comes out lumpy or uneven.
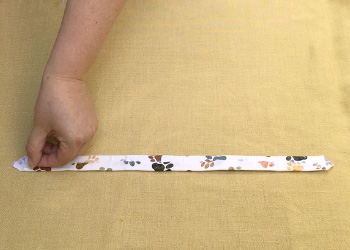 Step 32: Stick down the ends.
If there isn't enough exposed tape on the ends, you can put some down like I'm doing on the left.
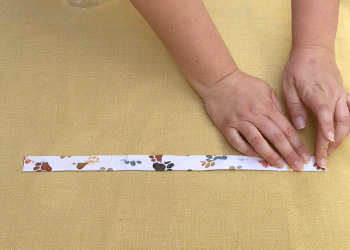 Fold the ends down on the left and right.
You now have all the walls pieces in a single strip, ready to put into the book.
Stage 4: Glue in the Side Strip
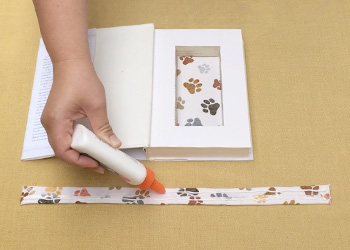 Step 33: Put glue on the back of the wall strip.
While the strip of wall pieces is face down, squeeze out two thin lines of glue down the length of the strip.
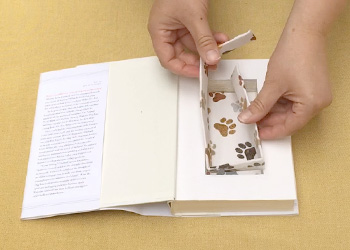 Step 34: Insert the wall strip.
Put the wall strip into the book. Try to work quickly to minimize glue drips.
You might need to finesse the placement in order to get it in tightly.
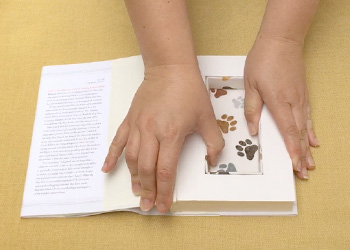 Step 35: Press on the sides.
Going around the entire strip, press firmly against the walls to adhere them to the sides of the cavity. You will probably have to do this more than once to make sure everything sticks in place.
Now you just need to let it dry for a few hours.
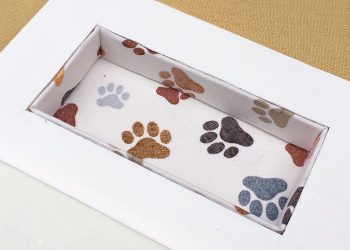 That's it! You're done!
Doesn't it look classy?
